
A Complete Window Display Project Process for Brand Retail Campaigns
- sales143753
- Jun 10
- 7 min read
Updated: 2 days ago

A strong retail window display is not only a beautiful decoration. For a brand campaign, it has to carry the story, protect the product focus, fit the store window, ship safely and install on time. That is why a professional window display project should be managed as a complete process, not as a single prop order.
At Caamatech, we help retail brands, visual merchandising agencies and contractors turn shop window concepts into production-ready display props. The following workflow shows how a custom window display project can move from the first brief to final installation and future reuse.
1. Project Brief: Define the Campaign Goal
The first step is to understand the purpose of the window display. Is it for a new product launch, a seasonal campaign, a mall activation, a holiday display or a flagship store refresh? The answer changes the design direction, material choice, budget and timeline.
A good brief usually includes store window dimensions, product photos, brand guidelines, reference images, target installation date, target country, budget range and whether the props need to be reused. When these details are clear at the beginning, the project can move faster and avoid unnecessary revisions.
2. Store Window Size and Site Information
After the campaign goal is clear, the real store window condition must be checked. A display that looks perfect in a rendering can still fail if the size, access route or installation condition is not confirmed early.
Brand clients should prepare the window width, height, depth, floor height, ceiling height, background wall condition, glass condition, available power points and photos or videos of the site. For multi-store projects, each location may need a slightly different layout or a modular structure.
This step helps avoid common problems such as props that are too deep for the window, oversized structures that cannot pass through the store entrance, displays that block the product view, or lighting that cannot be connected on site.
3. Brand Concept and Visual Direction
The next step is to turn the brand story into a visual scene. This may include the main color palette, hero product position, background layers, logo placement, lighting mood, decorative props and the overall rhythm of the window.
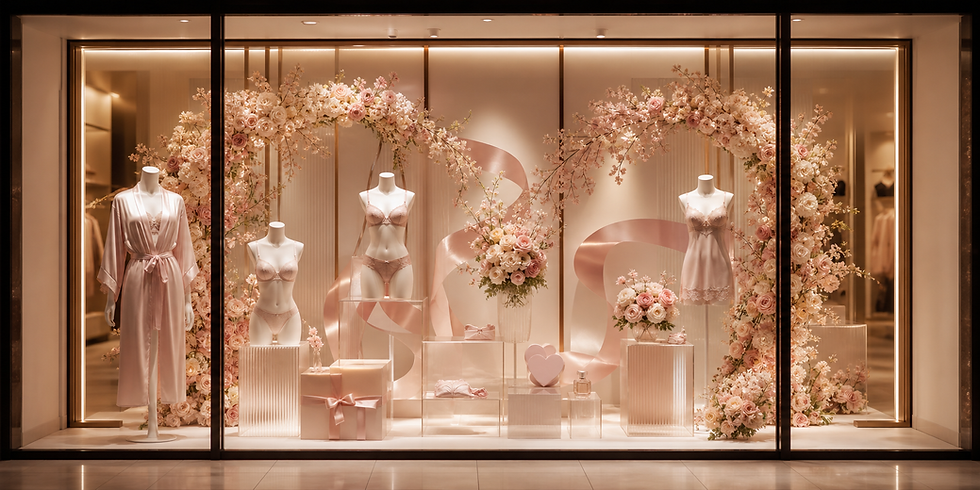
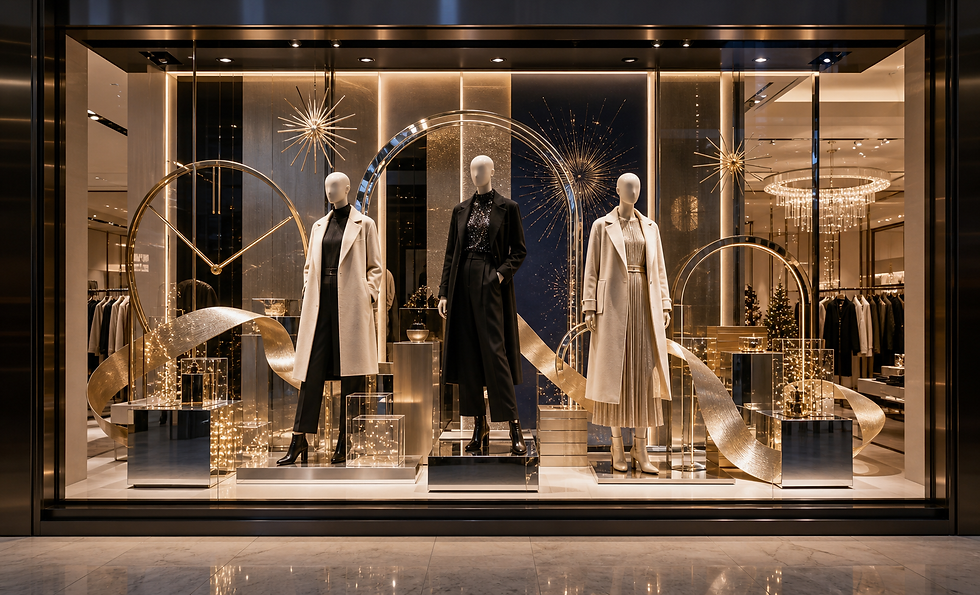
For cosmetic, perfume, optical, jewelry and fashion brands, the window display should do more than look attractive. It should help customers remember the product and understand the campaign message quickly. A good window display works from a distance, but still has enough detail to make customers step closer.
4. Budget Range and Timeline Check
Budget and schedule should be discussed before the design becomes too complex. The same visual idea can be built in several ways. Acrylic, metal, wood, MDF, fiberglass, resin, artificial floral elements and lighting all create different effects, but they also affect cost, weight, packing and production time.
At this stage, Caamatech can help evaluate whether the expected launch date and budget range are realistic. If the deadline is fixed, we may suggest a simpler modular structure, fewer custom molds, lighter materials or a phased production plan. The goal is to protect the visual result while reducing production and shipping risk.
5. 2D Layout, 3D Design and CAD Drawing
Once the concept direction is approved, the idea needs to become buildable. This stage may include a 2D window layout, 3D rendering, CAD dimensions, product placement plan, logo position, lighting location and assembly details.
For brand teams, this makes the project easier to review internally. For production teams, it makes the design measurable. Clear drawings help confirm proportion, product height, material thickness, support structure and installation method before production begins.
6. Material and Structure Solution
Material choice should balance appearance, strength, weight, budget, shipping and installation. Acrylic is useful for clean, glossy or transparent details. Metal provides strength and a premium finish. Wood and MDF are often used for bases, platforms and background panels. Fiberglass and resin are suitable for curved or oversized props. Artificial flowers and faux plants can create seasonal atmosphere with lower maintenance.
For window display props, the internal structure is just as important as the visible surface. A large prop may need hidden metal support, removable parts, reinforced joints or a lighter internal frame so it can ship and install safely.
7. Quotation and Production Schedule
A clear quotation should explain the project scope, not only the total price. It should list item names, dimensions, quantity, material, finish, lighting requirements, packing method and estimated lead time.
For overseas projects, packing and shipping should be considered at this stage. Large or fragile props may need plywood crates, foam protection, modular packing or separate cartons for accessories. A good schedule should include design confirmation, sample approval, production, quality control, packing and shipping time.
8. Sample, Finish and Prototype Approval
For important brand campaigns, samples reduce uncertainty before full production. This may include color samples, material samples, logo finish samples, lighting tests, surface finish tests or a partial prototype of the key structure.
Sample approval is especially useful when the project uses special paint, mirror acrylic, transparent acrylic, metallic finish, illuminated logos, curved fiberglass or detailed artificial floral work. It gives the brand team a real reference before the full display is produced.
9. Production and Assembly
After approval, the project enters production. Depending on the display, production may include cutting, bending, forming, welding, sanding, polishing, painting, acrylic bonding, printing, lighting installation, floral assembly and final structure assembly.
For custom retail display projects, production is not only about making individual parts. The parts must work together as a complete scene. When possible, key modules should be test assembled before packing so potential fit, stability or wiring issues can be solved before shipment.
10. Quality Control and Pre-shipment Confirmation
Quality control should happen before the products leave the factory. Important checks include dimensions, surface finish, color match, logo position, lighting function, stability, edge finishing, hardware, accessories and packing readiness.
For international clients, photos and videos are helpful before shipping. They allow the brand team to confirm the display and give the installer a preview of how the parts should look when assembled.
11. Packing, Labeling and International Shipping
Window display props often have delicate surfaces, large shapes, lighting parts or custom finishes. Good packing is part of the project solution. Foam protection, corner protection, cartons, plywood crates, labels and part numbers can reduce damage and make installation easier.
For multi-store projects, each store set should be packed and labeled clearly. For large props, modular packing can reduce shipping risk and make on-site handling more practical. Good packing saves time during installation and protects the campaign schedule.
12. Installation Support and Final Review
Some projects are installed by the brand team, some by local contractors and some with remote support from the manufacturer. Clear installation drawings, part numbers, assembly instructions and video guidance help the display land correctly in the store.
After installation, the final window should be reviewed from the customer viewpoint. The product should be visible, the brand message should be clear, lighting should look clean, wiring should be hidden and the overall scene should feel balanced from outside the store.
Reuse and Next Campaign Planning
A well-planned window display can often be reused or refreshed. Modular structures, replaceable graphics, removable floral decorations, interchangeable logo panels and durable base units can help brands reduce cost for future campaigns.
If the props need to be used again, the structure, finish, packing method and storage plan should be stronger than a one-time installation. This is especially useful for retail chains, seasonal campaigns and brands that launch new product stories several times a year.
What Brand Clients Should Prepare Before Starting
Store window dimensions, photos and videos
Product images, product samples or packaging dimensions
Brand guideline, logo files and color references
Campaign theme, mood board or reference images
Target installation date and target country
Quantity, store list and shipping destination
Budget range and approval process
Reuse requirement and storage expectation
Installer information or local contractor contact if available
A Typical Timeline for a Custom Window Display Project
Every project is different, but a normal custom window display project often needs 3 to 6 weeks after design confirmation. A more complex campaign with large props, special finishes, lighting, samples or multiple store sets may need 6 to 10 weeks.
Brief and site information: 1 to 3 days
Concept review and design development: 3 to 10 days
Material solution, quotation and schedule: 2 to 5 days
Sample or finish approval: 5 to 15 days when required
Production and assembly: 2 to 5 weeks depending on complexity
Quality control, packing and shipping: depends on destination and shipping method
If the launch date cannot move, the safest approach is to confirm key design decisions early and avoid late changes after production starts.
Common Risks to Avoid
Starting production without final store dimensions
Choosing heavy materials without checking installation conditions
Using oversized props that cannot pass through store entrances
Adding lighting without confirming power access
Changing colors or logos after production has started
Ignoring packing requirements for fragile acrylic, mirror or painted surfaces
Leaving installation instructions until the last minute
Why This Process Matters
A successful window display project is not judged only by how it looks in a rendering. It is successful when the final display fits the real window, supports the brand story, protects the product focus, ships safely and installs on time.
A clear process helps the brand team, designer, manufacturer and installer work toward the same result. It also makes the project easier to review, easier to quote and easier to repeat for future campaigns.
Build Your Custom Window Display Project With Caamatech
Caamatech provides custom window display props, retail display fixtures and visual merchandising manufacturing for global brands, agencies and retail contractors. We support projects from brief review and material selection to production, packing and installation guidance.
If you are planning a seasonal window display, cosmetic window display, optical storefront display, perfume launch display or custom retail prop project, send us your window size, reference images and target schedule. Our team can help evaluate a practical production solution for your campaign.
Related Caamatech Resources

Comments